This topic describes common settings that can help you to make your work simple and comfortable.
It contains the following sections:
General
Minimize application
To minimize app when recording starts:
- Click on the App settings icon on the main app panel;
- Click on the General settings in the sidebar;
- Turn the Minimize when recording starts switcher on.
Note! While the app is minimized, you can still interact with it through the icon on the taskbar and notification area. Just hover the cursor on it and click a needed function.
Always on top
To make an app always on top (display it over other app windows):
- Click on the App settings icon on the main app panel;
- Click on the General settings in the sidebar;
- Turn the Always on top switcher on.
Multiple mode
You can launch a few “Screen recorders by Animotica” examples at the same time:
- Click on the App settings icon on the main app panel;
- Click on the General settings in the sidebar;
- Turn the Run multiple instances of the app switcher on.
Application theme
To change the color theme of app:
- Click on the App settings icon on the main app panel;
- Click on the General settings in the sidebar;
- Click on the appropriate color theme (light or dark).
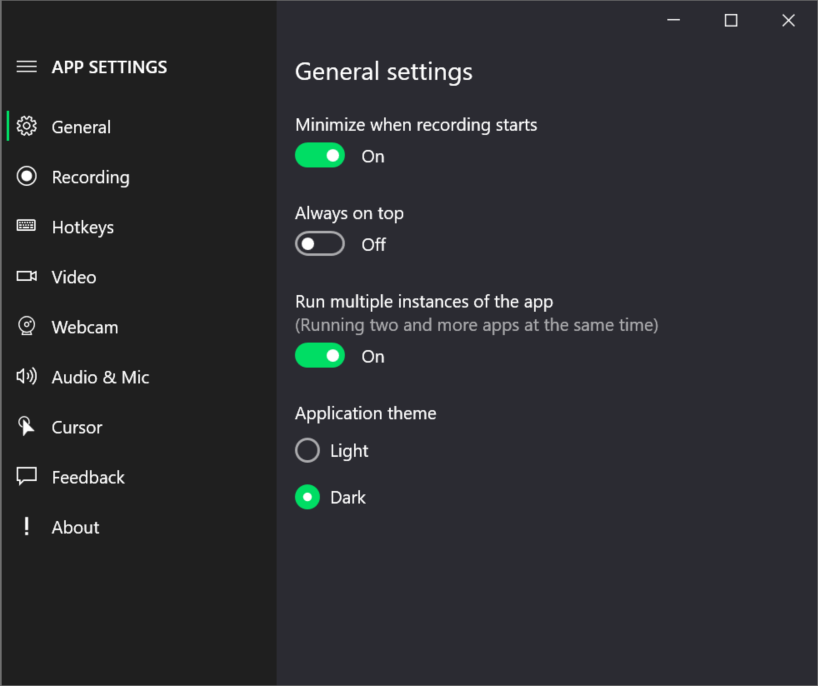
Figure 1: General settings
Recording
Delay
To delay start recording:
- Click on the App settings icon on the main app panel;
- Click on the Recording settings in the sidebar;
- Select the duration of the delay.
Output file folder
To choose output video folder:
- Click on the App settings icon on the main app panel;
- Click on the Recording settings in the sidebar;
- Click the Browse button under the file path field to open the "Browse For Folder" dialog;
- Specify the folder where you want to save the output video.
If you want to cancel your changes click the Set default button to return the output file folder by default.
Note! Make sure that your storage device has enough free space.
File name template
You can customize the file name template:
- Click on the App settings icon on the main app panel;
- Click on the Recording settings in the sidebar;
- Click on the Template info button under the name field to open the window with template variables;
- Add, change or remove needed variables.
To cancel your changes click on the Set default button.
Note! If a file with the same name already exists, an underscore followed by a number will be added to the end of the name to make it unique.
Desktop Duplicator API
This feature is enabled by default if your graphic card supports it.
It’s a powerful instrument for recording with high FPS settings and resolution.
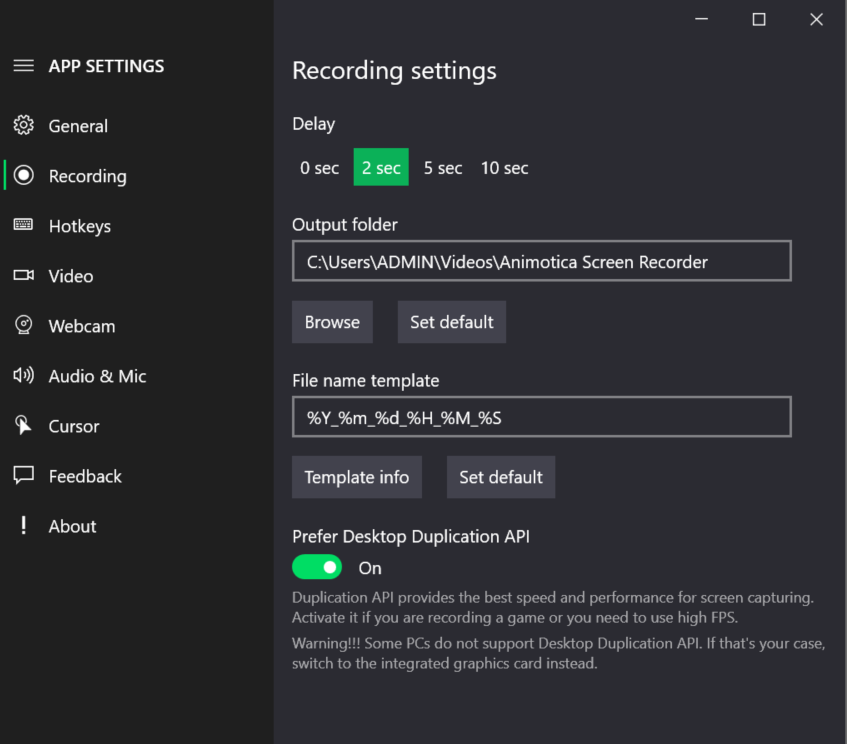
Figure 2: Recording settings
Hotkeys
The hotkeys allow you to control the recording process using a keyboard. It helps you use
"Screen Recorder by Animotica" without having its user interface included in the recorded video.
You can assign other combination for hotkeys:
- Click on the App settings icon on the main app panel;
- Click on the Hotkeys settings in the sidebar;
- Click on one of the combinations fields;
- Press the combination of keys that you need, it will appear in the combination field.
You can also deactivate the work of hotkeys:
- Click on the App settings icon on the main app panel;
- Click on the Hotkeys settings in the sidebar;
- Uncheck the appropriate combination.
To cancel your changes click on the Set default button.
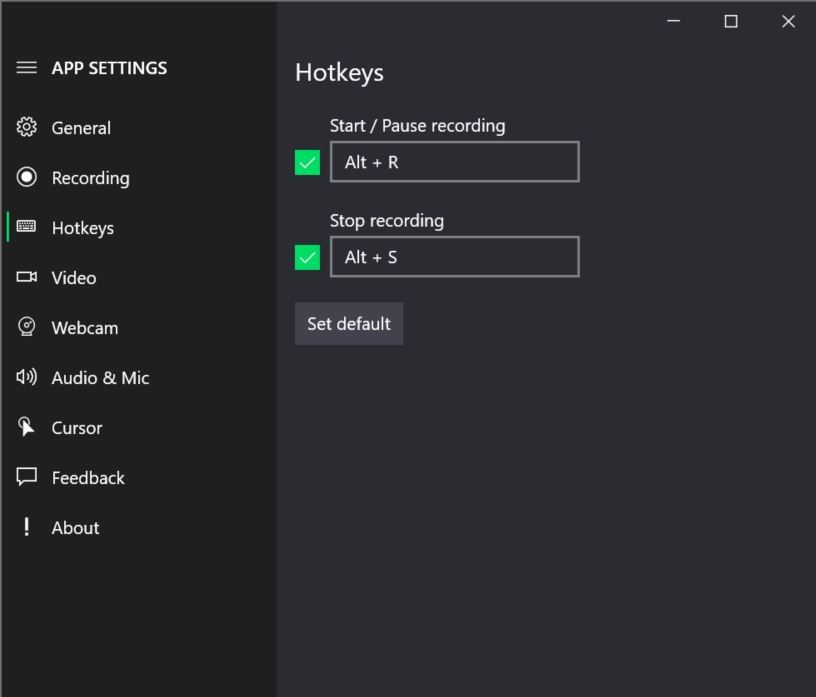
Figure 3: Hotkeys settings
Cursor
You can record the mouse cursor and its action.
To add mouse pointer to the recording video:
- Click on the App settings icon on the main app panel;
- Click on the Cursor settings in the sidebar;
- Turn the Record mouse pointer switcher on.
To highlight mouse pointer:
- Click on the App settings icon on the main app panel;
- Click on the Cursor settings in the sidebar;
- Turn the Highlight mouse pointer switcher on.
To highlight mouse click:
- Click on the App settings icon on the main app panel;
- Click on the Cursor settings in the sidebar;
- Turn the Highlight mouse click switcher on.
You can use these features together or separately.
Also, you can change the color and size of the highlight:
- Click on the App settings icon on the main app panel;
- Click on the Cursor settings in the sidebar;
- Turn on one of the available types of mouse recording;
- Click on the color icon to open the color picker;
- Select the preferred color;
- Move the slider Highlight size below to change the size.
Watch the preview window to see the made changes.
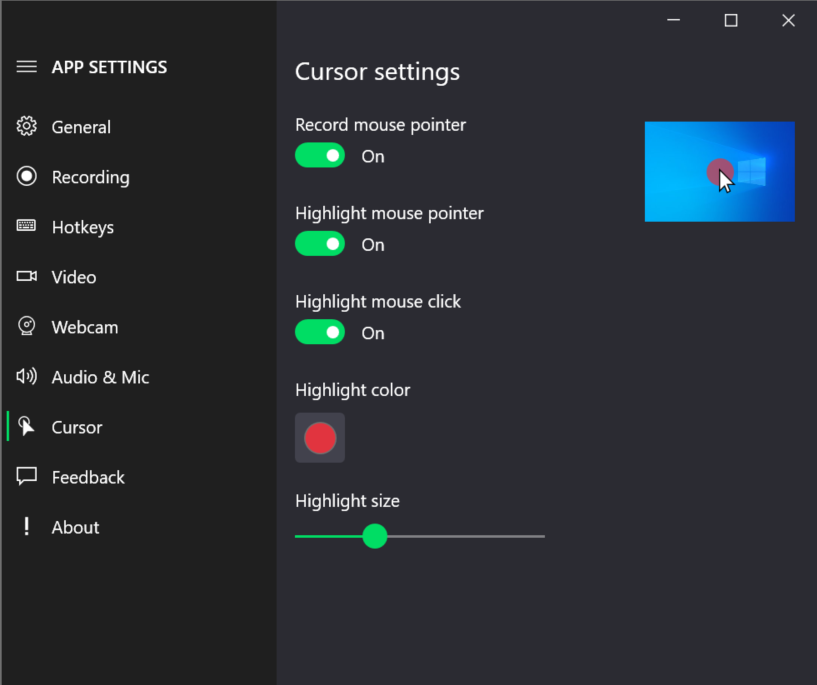
Figure 4: Cursor settings
Related topics:
Can I change the color of the app interface?
Comments
0 comments
Please sign in to leave a comment.