Animotica allows users to use custom fonts, and in this FAQ article, we will teach you how to add custom fonts to use in a video in Animotica.
Go to Windows Settings and Open the Search Box
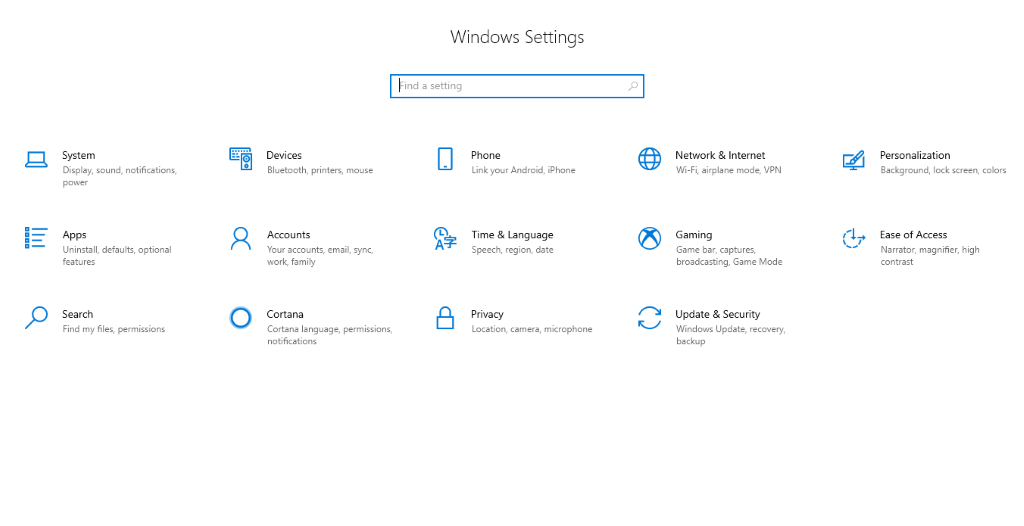
In the search box, enter Font. A pop-up will appear. From the list, select Font Settings.
You should be taken to the window shown below.
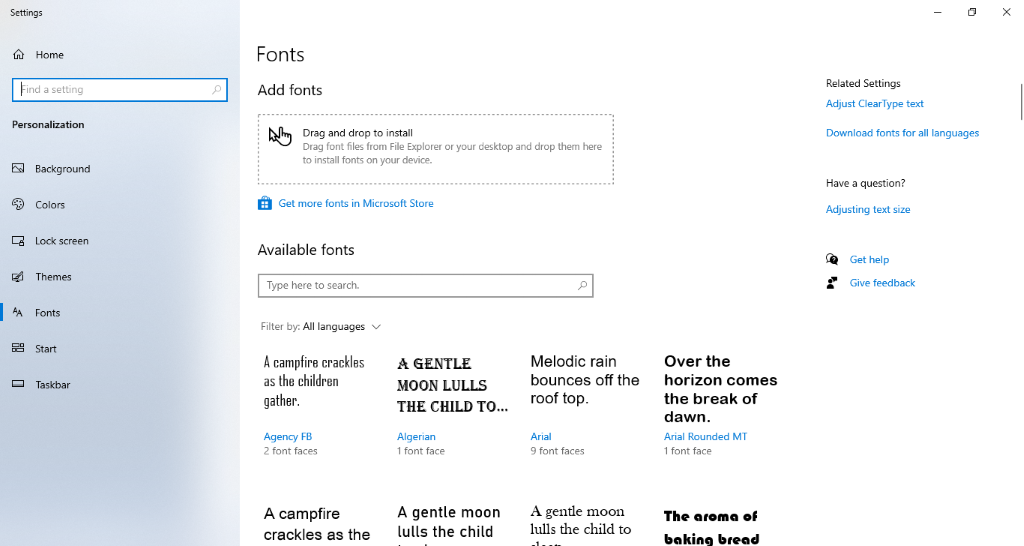
Import your Font(s)
First, from the list of font families we have in the first section, download your preferred typeface (it comes as a zip file containing all the fonts available). Open the zip file and extract it.
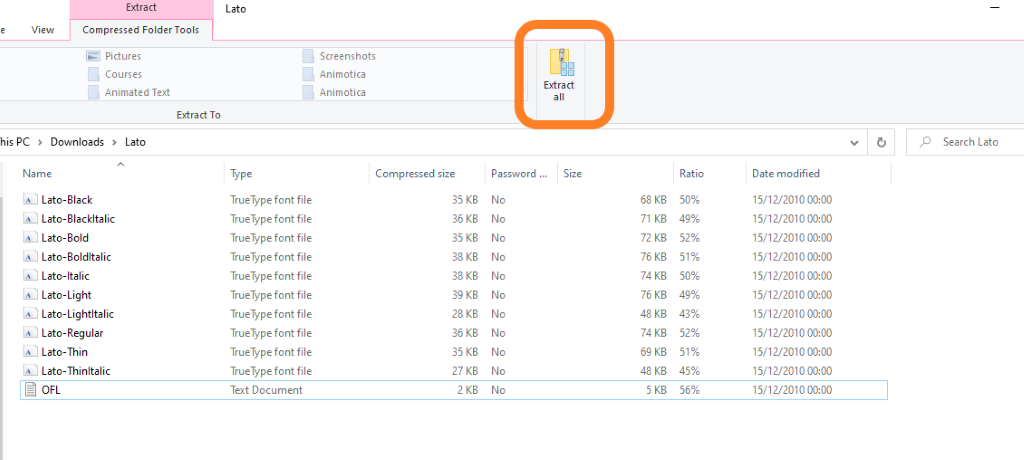
Next, select all the fonts within the folder, except the OFL document. You can select them at once by holding the control button while tapping on each of them.
Having selected them, hold down the ‘select’ button and drag the fonts to the settings icon.
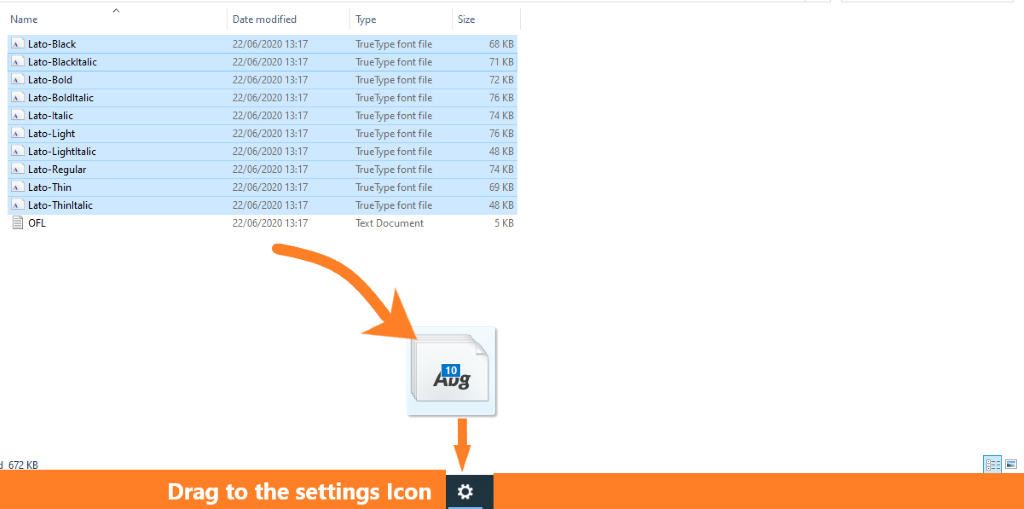
You will be taken to the settings window. Do NOT release the button until you have dragged the fonts to the “font box,” as shown below.
Wait a few seconds while the fonts get uploaded. You can use the search box to see if you successfully uploaded them.
Animotica is already open on your system, please close and reopen it for the new font to reflect.
Open Animotica and Upload your Project Files
Open Animotica and select New Project. On the new window, hit Add Video/Photo Clips.
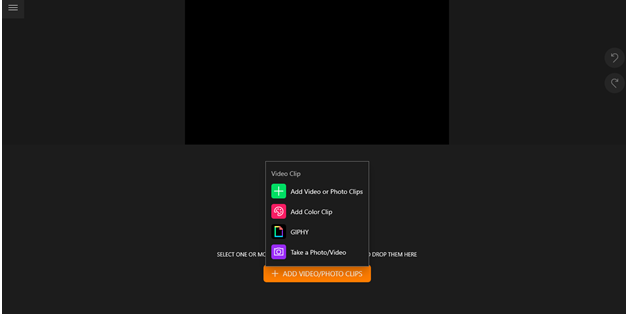
Select Add Video or Photo Clip, navigate to where you’ve saved your files, select them, and hit Open.
Now you have something to write on. Let’s get our new fonts!
Locate and Use your New Fonts
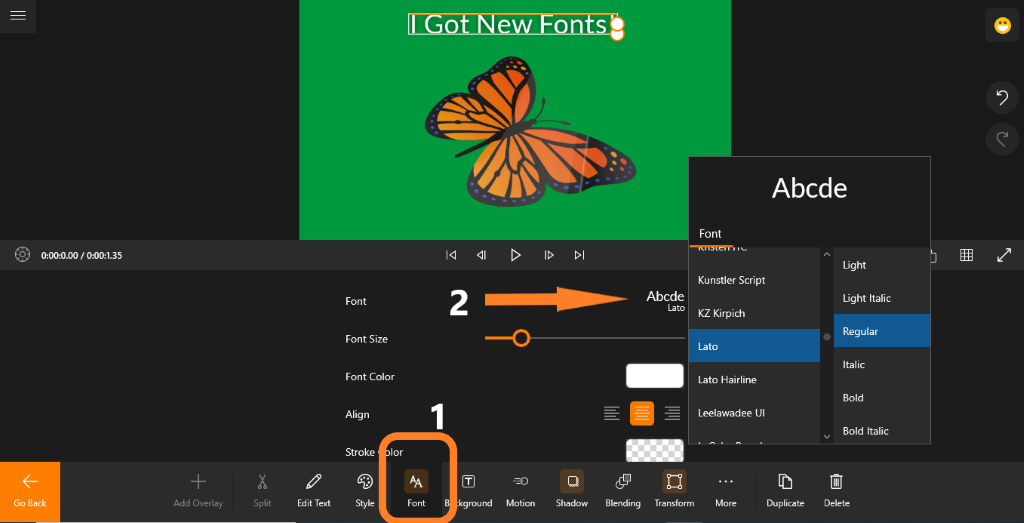
Click on the Add button and select Add Text. Input your text and hit the X button afterward.
On the bottom panel, hit Font and navigate to the Font option. You can now scroll up or down until you find and select your imported fonts.
Voila! Your awesome new font has been successfully added! Feel free to contact us @ support@animotica.com if you need any assistance.
Happy Editing! ✨
Comments
0 comments
Please sign in to leave a comment.